
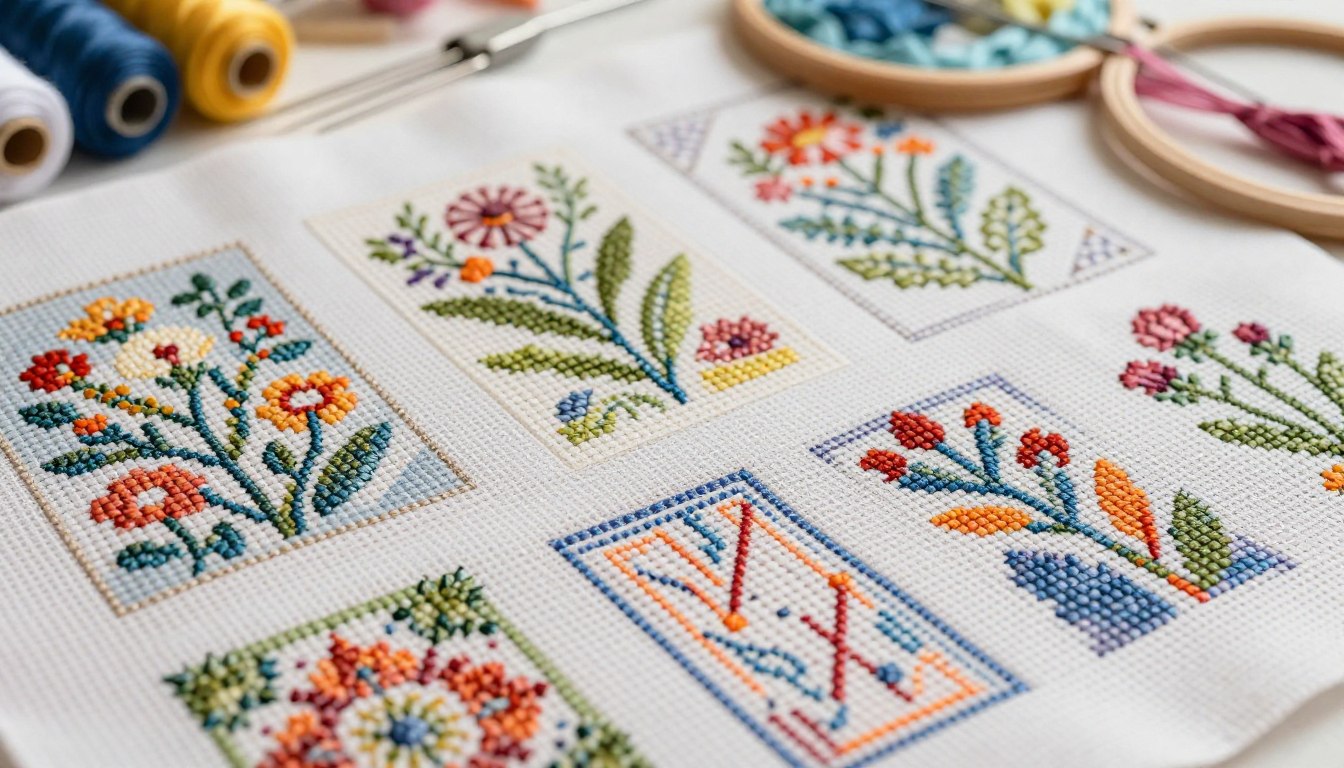
Needlepoint is a mix of precision, patience, and creativity. The way you place your stitches greatly affects your piece’s look, texture, and durability.
When you’re on a cross stitch project, the stitch direction is key. It decides how your piece will look. If you stitch right, your work will shine. But, if not, it might look uneven.
By focusing on cross stitch tips and sticking to cross stitch patterns, you can make sure your stitches are even and in the right direction. This small detail can make a big difference in your needlework.
Key Takeaways
- Stitch direction affects the overall appearance and texture of your needlework.
- Proper stitch direction is crucial for a professional-looking finish.
- Following established patterns can help you achieve the desired outcome.
- Attention to detail is key to creating beautiful needlework.
- Using the right techniques can enhance the durability of your piece.
The Fundamentals of Stitch Direction
Learning the basics of stitch direction is key to a professional look in your cross-stitch work. It’s important to be consistent. This means setting a standard for your top stitches to improve the look.
Understanding the Basic Cross Stitch Formation
A cross stitch is made by creating an “X” on your fabric. Knowing how this stitch works is very important.
The Anatomy of a Perfect Cross Stitch
A perfect cross stitch has two diagonal stitches that meet in the middle. The right tension is crucial to keep the fabric even.
The Standard “Lower Left to Upper Right First” Approach
Many follow the “lower left to upper right first” method for consistency. This approach helps keep your work even, which is great for beginners. It helps them avoid common mistakes.
How Thread Tension Interacts with Direction
Thread tension affects stitch direction a lot. Keeping tension even
By grasping these basics, you can enhance your cross-stitch skills. This is especially true for beginners who want to avoid mistakes.
Visual Impact of Consistent vs. Inconsistent Stitching
Stitching in the same direction is crucial for a uniform look in counted cross stitch. This uniformity makes the fabric look smooth. It’s especially important with fabrics that have a lot of texture or shine.
The Uniform Appearance of Consistent Stitching
Stitches that go in the same direction make your work look professional. It keeps the tension of your stitches even. This is key for keeping the design’s integrity, especially when using backstitching for outlines.
How Light Reflects Differently Based on Direction
The direction of your stitches changes how light hits your cross stitch. If the direction varies, some areas might catch the light more than others. This can cause shading or texture issues you didn’t plan for.
The Sheen Factor in Different Lighting Conditions
Lighting can make your stitches look more vibrant or less so. In bright light, consistent stitching makes your work pop. But, under certain lights, uneven stitching might show more, affecting how it looks.
Identifying Direction Issues in Finished Pieces
To spot direction problems, check your finished piece under different lights. Look for spots where the stitching direction changes. These areas might catch the light differently, making them stand out.
| Stitch Direction | Light Reflection | Overall Appearance |
|---|---|---|
| Consistent | Uniform | Smooth, Polished |
| Inconsistent | Varies | May show unintended shading or texture |
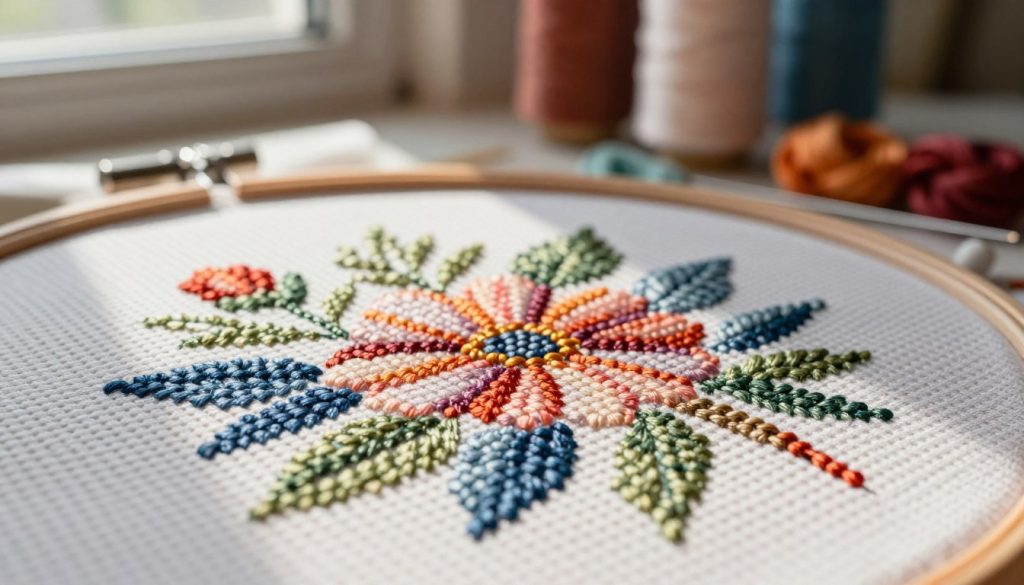
Common Directional Patterns in CROSS STITCH Projects
Starting your cross-stitch journey? Knowing the different patterns is key. Each region has its own way of stitching, making each piece unique.
The Danish Method (/ then \)
The Danish method starts with one direction, usually from left to right. Then, it goes the opposite way. It’s great for big projects.
Benefits for Large Color Blocks
For big color areas, the Danish method is efficient and consistent. It covers more ground fast and keeps things even.
The English Method (Complete X Before Moving On)
The English method, on the other hand, finishes each stitch before moving. It’s perfect for detailed designs.
Advantages for Detailed Pattern Work
For small, detailed designs, the English method is precise and controlled. It lets you focus on the details that make your project special.
Continental and Other Regional Variations
There are more methods like the Continental style. Trying these out can boost your skills and spark new ideas for your cross stitch projects.
Exploring these patterns can make your stitching better. Even beginners can get pro-looking results with practice.
Techniques for Maintaining Consistent Direction
A consistent stitch direction is key to a great cross-stitch project. To get a professional look, use techniques that keep your stitches even.
Creating Personal Stitching Rhythms
Having a personal stitching rhythm helps keep your stitches in line. A repetitive pattern reduces mistakes and makes your project look better. Using DMC floss helps because it has a smooth texture.
Using Gridding to Track Direction
Gridding is a smart way to keep your stitches straight. It divides your canvas into grids, making sure your stitches are even. This method is great for complex patterns or big projects.
Tools That Help Maintain Consistency
There are tools that make keeping your stitches consistent easier. Magnifiers and needle minders are especially helpful.
Magnifiers, Needle Minders, and Pattern Keepers
Magnifiers let you see your stitches better. Needle minders keep your needle steady, so you don’t make mistakes. Pattern keepers help you stay organized and focused.
| Tool | Purpose | Benefit |
|---|---|---|
| Magnifiers | Enhance visibility | Improved accuracy |
| Needle Minders | Keep needle in place | Reduced errors |
| Pattern Keepers | Organize patterns | Increased productivity |
Using these techniques and tools will make your cross-stitch look more professional. It will also make you enjoy the craft more.
How Different Fabrics Affect Stitch Direction Appearance
The fabric you pick for your cross-stitch project changes how your stitches look. Each fabric has its own traits that can make stitching easier or harder.
Aida vs. Evenweave Considerations
Aida and evenweave fabrics are favorites for cross-stitch. Aida has a clear grid, helping beginners follow patterns. Evenweave offers more design options but needs careful stitch direction.
Stitching on Aida is often more even because of its grid. But evenweave requires focus to keep stitches straight. It gives a smoother look.
Linen and Its Unique Directional Challenges
Linen, a natural fiber, brings its own set of challenges. Its texture can make threads slant if not managed right. To fix this, watch your thread tension and use a gridding method.
Adjusting Your Technique for Different Materials
Changing your stitching method is key for different fabrics. You’ll need to adjust thread tension and consider the fabric’s texture.
Thread Count and Tension Modifications
Thread count and tension are crucial for various fabrics. For example, a high thread count might need looser tension to avoid puckering. A low thread count might need tighter tension for secure stitches. Try different tensions and counts to find the right balance for your project.
Creative Applications of Varied Stitch Directions
Stitch direction is more than just following a pattern. It’s a way to add texture and dimension to your cross-stitch projects. By trying different directions, you can make your work more interesting and deep.
Using Direction to Create Texture and Dimension
Changing the direction of your stitches can make a big difference. It can go from adding a bit of texture to making your design pop with depth. This trick can really make your design stand out.
Direction Techniques for Special Effects
Stitch direction can also help you create special effects. For example, you can make your design look like fur or shimmering water. Creative needlework is all about trying new things to make your designs come alive.
Creating Fur, Water, and Other Textural Elements
To get realistic textures, try these techniques:
- For fur, keep your stitches in one direction to mimic the animal’s coat.
- For water, mix up your stitch direction to show movement and shine.
As an expert says, “The secret to realistic textures is to study nature and stitch what you see.”
“The art of needlework is not just about following a pattern, it’s about bringing the design to life through technique and creativity.”
Combining Different Directions for Artistic Expression
Mixing different stitch directions can lead to amazing effects. Artists can play with different directions to add excitement to their work.
| Technique | Effect | Application |
|---|---|---|
| Consistent Direction | Uniform Texture | Backgrounds, Skies |
| Varying Direction | Dynamic Texture | Fur, Water, Fabric |
| Contrasting Directions | Dramatic Visual Interest | Foreground Elements, Focal Points |
Conclusion: Perfecting Your Stitch Direction for Professional Results
Getting your stitch direction right is key to top-notch cross-stitch and needlepoint. Knowing the basics and using the tips shared can take your work up a notch. This makes your projects look better, more polished, and sophisticated.
To get there, work on finding a rhythm that works for you. Use tools that help keep your stitches even. Whether it’s a detailed design or a simple one, focusing on stitch direction will improve your work. Keep learning and practicing to create amazing pieces that show off your talent.
FAQ
What is the standard approach to stitching in cross-stitch?
How does thread tension interact with stitch direction?
What is the difference between the Danish and English methods of stitching?
How can I maintain consistent stitch direction?
How do different fabrics affect the appearance of stitch direction?
Can I use varied stitch directions to create special effects?
What are some common mistakes to avoid when it comes to stitch direction?
What tools can help me maintain consistent stitch direction?
How can I adjust my technique for different materials?
This post contains affiliate links. If you click on a link and make a purchase, I may earn a small commission — at no extra cost to you. Thank you for supporting this blog and helping me keep the patterns free! Read the full Affiliate Disclosure & Transparency.