Visual balance in CROSS STITCH means your piece looks stable and harmonious. You can choose symmetry, asymmetry, or a radial layout. Balance affects how your design looks at first glance.
A well-balanced design guides your eye and fits the frame perfectly. It can create a calm or lively mood.
Counted cross stitch is simple and easy to measure. You work based on a stitch count on specific fabric. Use the formula Finished Size = Stitch Count ÷ Fabric Count to predict sizes and keep proportions.
Different fabric counts, like 11–28 count Aida, linen, or evenweave, change how big your design looks. This affects your balance choices.
This guide will teach you about composition and visual balance. You’ll learn about tools and techniques, and how to scale designs. You’ll also get tips on gridding, DMC floss palettes, backstitching, and embroidery hacks to keep your work balanced.
It’s for both beginners and experienced stitchers. The article is written in a clear, second-person voice. You’ll get tips, avoid mistakes, and plan projects with strong visual balance.
Key Takeaways
- Visual balance makes your piece feel intentional and readable at a glance.
- Use Finished Size = Stitch Count ÷ Fabric Count to keep proportions accurate.
- Fabric count (11–28 count) changes perceived scale and affects balance choices.
- Symmetry, asymmetry, and radial layouts each create different moods.
- Gridding, DMC palette choices, and backstitching are practical tools for harmony.
Principles of Visual Balance in Cross Stitch Design
Balance is key in cross stitch design. It guides every choice you make. By placing motifs, empty areas, and thread colors, you decide if a design is calm or lively. This balance prevents common mistakes and keeps the piece balanced.
Understanding symmetry, asymmetry, and radial balance
Symmetry creates calm, formal designs. It uses mirror layouts, seen in samplers and botanicals. This repetition makes the design easy to recognize.
Asymmetry balances without mirroring. It uses mass, color, or texture to achieve balance. Try an off-center focal point or a block of darker stitches balanced by negative space.
Radial balance is perfect for circular designs. Elements radiate from a center, guiding the eye outward. It’s great for meditative stitching that centers attention.
Composition elements: focal point, negative space, and rhythm
A clear focal point anchors the design. Increase contrast, add detail, or use backstitch to make it stand out. This prevents the design from drifting.
Negative space is crucial. It improves legibility, especially in small pieces. Too many small elements can clutter the design.
Rhythm comes from repeating motifs or colors. Repeat elements at intervals to guide the viewer. This creates a visual beat.
Practical tip: use larger motifs or darker DMC floss sparingly. Add breathing room around complex elements. This keeps details readable.
Color balance and contrast using DMC floss and palettes
Use trusted brands like DMC floss for color consistency. Build a palette of three to seven core colors plus neutrals. This maintains color balance without overwhelming the eye.
Use contrast in value to make focal points pop. Pair light and dark tones for emphasis. Mix warm and cool hues to set the mood.
Test color combos on fabric before stitching. When resizing, preserve contrast to keep details distinct. Avoid overloading with similar colors or skipping contrast tests.
CROSS STITCH: Tools, Fabric Counts, and Techniques That Influence Balance
Fabric choice and tools greatly affect how a design looks. Choose the right fabric to keep proportions, details sharp, and stitching fun. Changing fabric count changes the size of your finished piece, so plan ahead.

How fabric count affects perceived size and detail
The math is simple: Finished Size = Stitch Count ÷ Fabric Count. For example, a 100×100 stitch design is about 7.1 inches on 14‑count and 5.6 inches on 18‑count. A 60‑stitch motif is roughly 4.3 inches on 14‑count, 3.3 inches on 18‑count, and 5.5 inches on 11‑count.
Higher counts, like 18–28, offer finer details and are great for small pieces or jewelry. Lower counts, such as 11–14, are better for larger projects and are easier for beginners. When increasing count, test thread-strand adjustments on a scrap first. You might stitch over one or two threads or use a single strand on evenweave or linen to keep coverage.
Needlework tools and gridding for precise composition
Key cross stitch tools include quality needles, an embroidery hoop or frame, sharp snips, bobbins for floss, and good lighting or a magnifier for higher counts. These tools help you work faster and reduce eye strain.
Cross stitch gridding prevents costly mistakes. Use washable marking pens, basting thread, or pre-printed gridded fabric to map your pattern. Gridding helps place focal points and maintain symmetry or intentional asymmetry.
Planning software and calculators make scale decisions easy. Tools like PCStitch or Pattern Keeper and free online calculators estimate finished size and thread needs. Keep a system for organizing your cross stitch: label bobbins with DMC numbers, note fabric count and type, and record scaling math in a project notebook.
Backstitching techniques and outlining for clarity
Backstitching restores edges and detail that may blur when designs are scaled down. Use a single-strand backstitch in a darker or neutral DMC shade to define shapes without overpowering the piece.
Work outlines after completing the full cross-stitch area. Vary backstitch weight—one strand for subtle lines, two strands for bolder definition. Combine continental and backstitch methods to smooth curves.
Avoid over-outlining. Too much backstitch can flatten texture and add visual clutter. Apply outlining selectively to protect your focal point and preserve balance while using cross stitch techniques that support clarity and depth.
Design Choices That Create Harmony Across Different Project Sizes
To keep a pattern’s look while changing its size, follow these steps. First, figure out your desired size. Then, calculate the stitch or fabric count needed. Choose the right fabric and thread for that count.
Stitch a test swatch and note down all your calculations. This way, you can repeat the process easily. Software like PCStitch or CrossStitch Professional can also help scale stitch counts without needing to redraw the entire pattern.

Scaling can be done in two ways. You can change the fabric count for a quick size adjustment without altering the pattern. Or, use software to scale stitch counts for precise adjustments.
Keep scaling within 50–200% to maintain the pattern’s integrity. This range helps avoid common mistakes like stretching or ignoring proportions.
Mini cross stitch needs simplification. Remove small details and focus on strong outlines and backstitching. This makes the design clear and easy to see, even in small sizes.
Epic cross stitch projects allow for detailed work. You can keep gradients and many color changes. Plan your work and use professional software to scale elements.
Always test your ideas first. A mini project is perfect for trying out threads and techniques before starting a large piece. This helps avoid mistakes on bigger projects.
When scaling, remember thread usage increases with size. Doubling the size might need four times the thread. Use calculators to figure out thread needs and buy extra to avoid color issues.
Coverage changes with size too. Larger designs might need more thread to avoid gaps. Smaller designs might need fewer strands or finer threads for crisp details. Always stitch a swatch to check color density before starting a big project.
Keep your floss organized for every project. Wind and label skeins, plan thread usage, and save extra skeins for long projects. Document strand counts and stitch directions for easy reference between small and large projects.
| Decision | Mini Cross Stitch | Epic Cross Stitch |
|---|---|---|
| Scaling method | Lower fabric count; simplify pattern elements | Higher fabric count; software-assisted selective scaling |
| Detail strategy | Remove micro‑details; emphasize outlines | Retain gradients and subtle shading |
| Thread use | Fewer strands; finer threads may be needed | More strands; specialty threads for coverage |
| Common mistakes | Overcrowding tiny areas; losing focal point | Underestimating thread needs; inconsistent tension |
| Best practice | Test swatch, simplify background | Plan sections, stash extra skeins |
Composition Techniques, Patterns, and Inspiration for Balanced Cross Stitch Projects
Start by thinking about order and rhythm. Geometric motifs give clarity and calm. Use repeated shapes like diamonds, triangles, circles, or mandalas to guide the eye. Test color contrasts and values with a DMC palette to keep shapes readable at every scale.
Using geometric patterns and cultural motifs to build order
Geometric cross stitch taps into deep psychological responses to symmetry and pattern. Your choice of repeated units creates a predictable beat. This soothes viewers and supports cultural storytelling.
When adapting motifs from a tradition, preserve symbolic elements while simplifying them for clarity. On a mini cross stitch, you might reduce a complex border to a single repeating diamond or triangle. This keeps meaning intact.
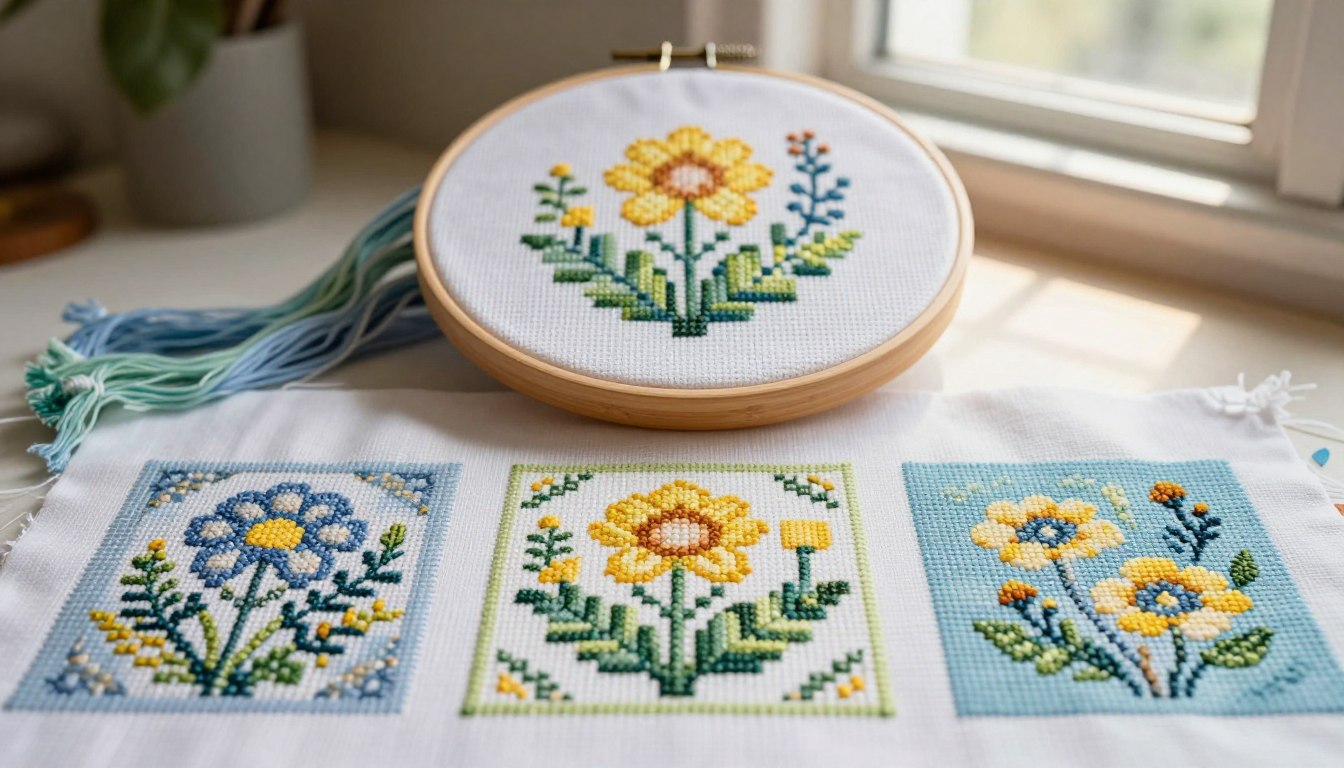
Arranging multiple small pieces for cohesive display
A grid of mini cross stitch pieces becomes a single statement when you match palette, matting, or framing. Use the same margins and consistent cross stitch frames to build visual rhythm across a wall.
Group work by color family, theme, or narrative order so viewers can move from one square to the next. Museums show that smaller works invite close inspection. This makes mini series ideal for teaching stitch techniques and cultural context.
Practical project ideas and embroidery hacks
Try themed mini series like flora, fauna, or tiny art reproductions. Make bookmarks, ornaments, patches, medallions, or mandala coasters for quick wins and cohesive collections.
Use embroidery hacks to speed work and preserve clarity. Test new stitches and palettes on minis before large commitments. Mark temporary grids with washable pens for straight lines. Backstitch selectively to restore definition. Adjust strand counts to control coverage and use cross stitch calculators or apps like Pattern Keeper to plan thread usage.
For larger cross stitch projects, plan in sections and consider modular framing. This way, each panel reads as part of a whole. Mini cross stitch gives speed and portability. It’s perfect for travel stitching and skill sharpening before tackling epic pieces.
| Project Type | Best Use | Key Tip |
|---|---|---|
| Mini series (5–9 pieces) | Gallery wall, themed collections | Use consistent cross stitch frames and a shared palette |
| Bookmarks and ornaments | Gifts and seasonal sets | Keep motifs simple; test on scrap fabric first |
| Modular epic projects | Large installations, stitched-alongs | Plan sections with matching borders for seamless joins |
| Mandalas and geometric patterns | Practice symmetry and color balance | Use DMC palettes to test contrast and value |
| Skill-building minis | Try new stitches and palettes | Use washable marking pens and varied strand counts |
Conclusion
Visual balance in cross stitch comes from mixing clear rules with practical choices. Use symmetry, asymmetry, or radial layouts to guide the eye. Pair those layouts with thoughtful color work using reliable threads like DMC to keep contrast and harmony.
Make measurement and tool use routine. Calculate finished size with stitch count ÷ fabric count, test swatches when you change fabric or scale, and grid with a hoop or marking tool for accuracy. Label and organize floss, try backstitching sparingly, and use software or free calculators to plan—these cross stitch techniques and cross stitch tips cut surprises and help you stay on track.
Experiment often with mini projects to explore palettes and negative space. Geometric patterns and curated palettes provide reliable cross stitch inspiration while avoiding common mistakes like improper scaling, poor contrast, or over-outlining. Treat small pieces as practice for larger work, and adapt detail so each design reads well at its final size.
By applying these principles and the tools described, you’ll find stitching becomes a steady form of cross stitch therapy. Whether you are tackling beginner cross stitch or pushing into complex designs, these steps help you create pieces that display neatly, balance visually, and reward your time with better results and greater satisfaction.
FAQ
What makes a cross stitch design visually balanced?
How does counted cross stitch connect to visual balance?
How do symmetry, asymmetry, and radial balance differ in practice?
How can I preserve balance when converting a photo or artwork to cross stitch?
What are the key composition elements I should plan for?
How do I create a strong focal point in cross stitch?
How many colors should I use and how can DMC floss help with balance?
What common color mistakes should I avoid?
How does fabric count affect perceived size and design detail?
How should I change thread strands when moving between fabric counts?
What essential tools help maintain precise composition and balance?
What gridding methods work best to protect composition?
When and how should I use backstitching to improve balance?
How do I scale a pattern while preserving proportion and balance?
What common scaling mistakes to watch for?
How should I adapt detail for mini versus epic projects?
How does thread usage change with scale and how do I estimate needs?
How can geometric patterns and cultural motifs help create visual order?
How do I display multiple small pieces so they read as a cohesive group?
What are practical project ideas and embroidery hacks for balanced results?
What actionable steps can I take now to improve balance in my cross stitch?
What common mistakes will upset visual balance and how do I avoid them?
This post contains affiliate links. If you click on a link and make a purchase, I may earn a small commission — at no extra cost to you. Thank you for supporting this blog and helping me keep the patterns free! Read the full Affiliate Disclosure & Transparency.